How To Repair A Leaking Outdoor Faucet
The arrival of spring is marked by sunny weather, warm temperatures, and the anticipation of working on your home garden. As you prepare for the gardening season, this is an ideal time to inspect your outdoor plumbing systems. In the winter, your outdoor faucets could have been damaged by the snow, the hail, and the freezing cold. These damages have long-term repercussions, which could lead to a wide array of plumbing problems.
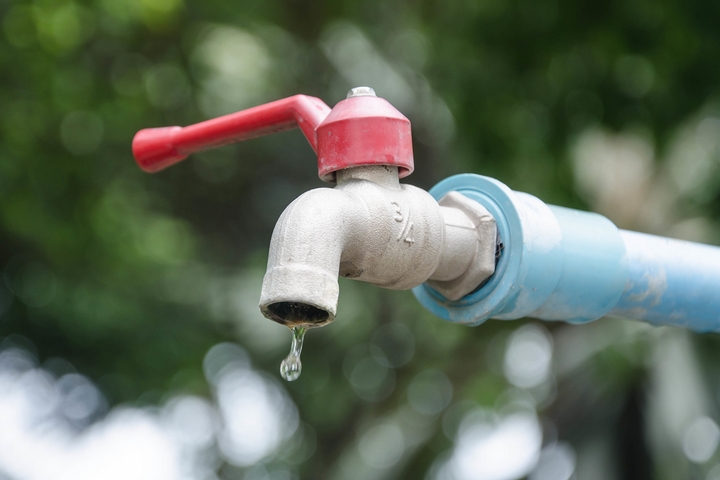
One of the common plumbing problems is a leaking outdoor faucet. This usually starts with just a few drops of water, which may seem so minuscule that you don’t notice anything wrong at first. If the leaking persists, this harms your home’s foundation over time. Eventually, the water finds a way to seep into the interior of your home. At this point, you have an escalated plumbing emergency, all because of that one leaking outdoor faucet.
Fortunately, there are numerous ways for you to mitigate and minimize the damages from the leaky faucet. Your best bet is to contact an experienced plumber, who can help you detect and repair a leaking outdoor faucet with relative ease. The key is to repair the faucet as promptly as possible before the leak intensifies.
Here are six ways on how to repair a leaking outdoor faucet in your home:
1. Detect the leaking outdoor faucet
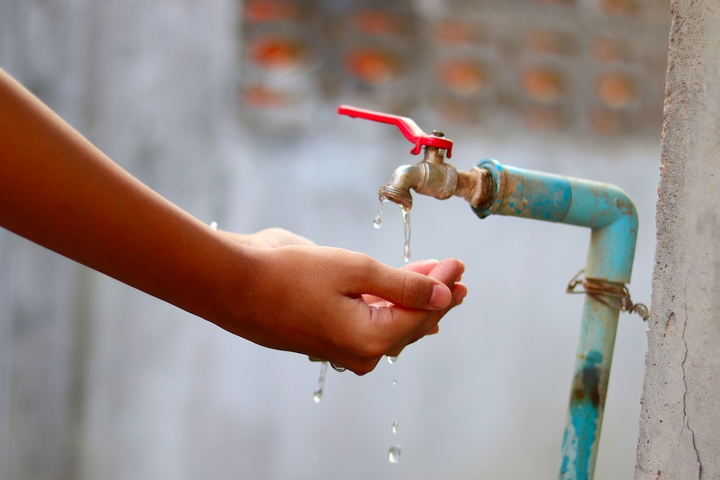
A leaking outdoor faucet usually goes undetected for a long time, since many homeowners don’t notice the initial signs of a leak. One of the early symptoms is the appearance of a wet or sunken patch around your house exterior, especially near the faucet. This might be an indication of underground leaking.
In order to identify a potential leak, turn on the faucet while putting your hand over the opening. Check to see if the flow of water slows down when the faucet is covered. If you sense the flow of water becoming weaker, there may be a leak in the system that should be resolved by a plumber.
2. Check for loose or damaged faucet parts
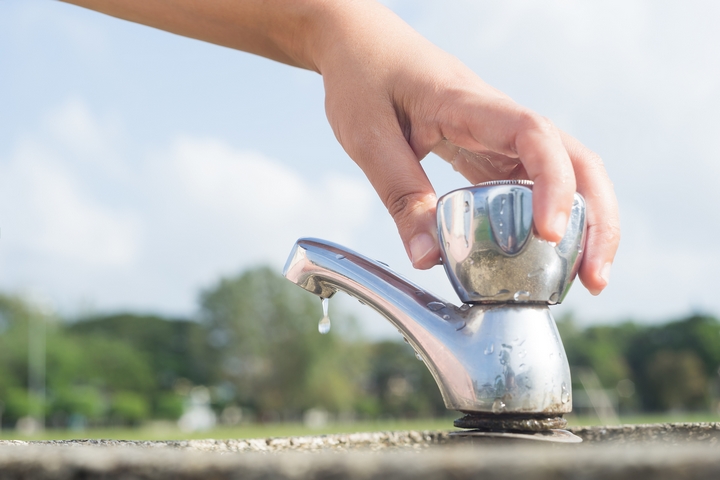
With frequent use, different parts of the faucet can become loosened, corroded, or deteriorated over time. These damaged components are the likely cause of the leaking outdoor faucet. A closer plumbing inspection will reveal exactly which faucet parts have worn out, so you can repair or replace them as necessitated.
One of the most common culprits is the nut that holds the faucet to the pipe. If this faucet part is simply loosened, you may be able to tighten it with a wrench. If the hardware feels stiff, you should apply some lubricating oil to the thread.
3. Inspect the internal faucet components
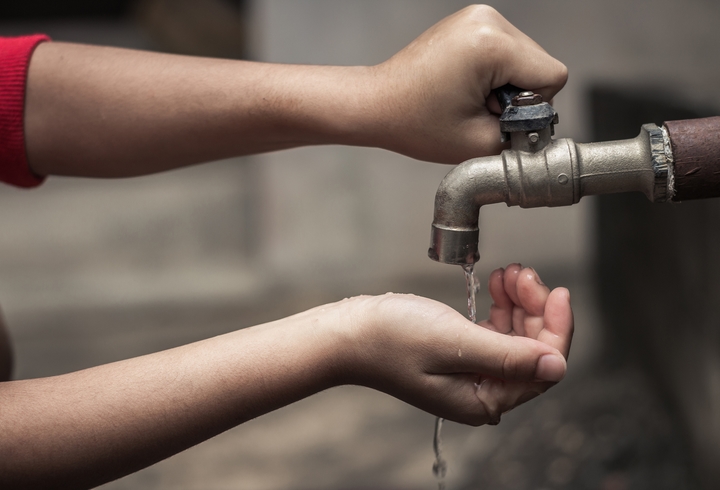
Sometimes, the root cause of the leaking outdoor faucet may not be immediately visible to the eye. The problem could lie within the faucet’s internal components, which have become defective. If you notice the faucet handle feels loose or stiff while being turned on, this could indicate an issue within the faucet’s mechanisms internally.
Using a wrench or screwdriver, you can remove the handle to check the inside components of the faucet. Upon inspection, you may notice the washer inside the tap is worn out. In this case, the washer will need to be replaced. If the other faucet parts appear to be physically deteriorated, you should replace them as well.
4. Check for damages in the pipe
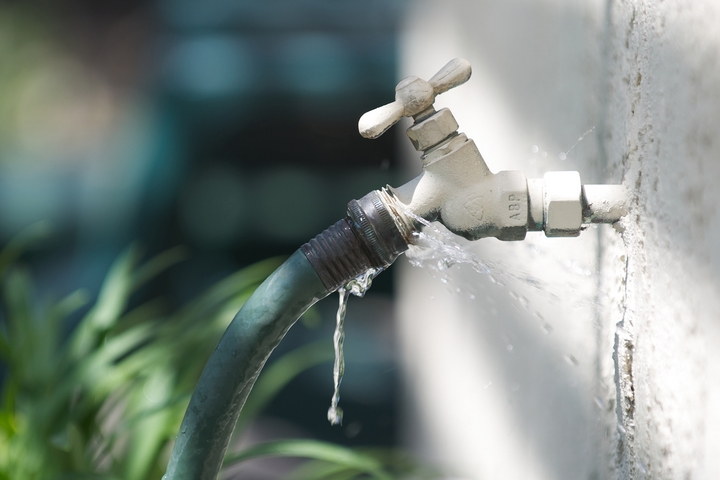
Another problem that can cause a leaky faucet is damage to the pipe. The damage usually occurs around the stem of the pipe, where it is most vulnerable. Sometimes, you may notice there is a split in the pipe. This happens because the water freezes inside the pipe during the cold winter temperatures, causing it to expand. A burst pipe is unsustainable in the long run, so you should have it replaced.
If you live in a climate with harsh weathers, you will want to avoid a frozen outdoor faucet during the winter. Some preventive measures include disconnecting the pipes in late autumn, using an outdoor faucet cover, and installing a frost-free faucet.
5. Clean the outdoor faucet regularly
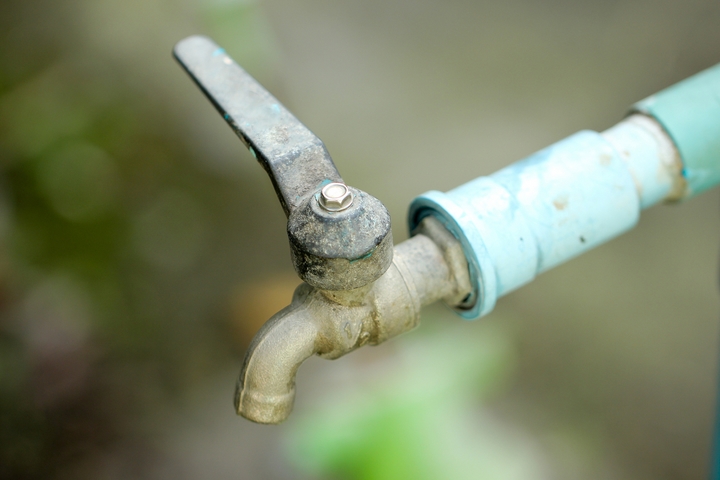
Over time, debris and mineral deposits can build up in the faucet spout or pipe. When this occurs, water will not flow properly, which causes a slow and gradual buildup. As the buildup accumulates, water will begin leaking out even after you turn off the faucet. This problem will only worsen until you clear away the debris and mineral deposits.
Regular cleaning ensures your leaky outdoor faucet is restored to pristine condition. Use a scrubbing brush and clean around the faucet, while applying moderate force to avoid damage to the components. You can also clean the faucet with white vinegar, which helps to remove the mineral deposits.
6. Perform regular maintenance on the outdoor faucet
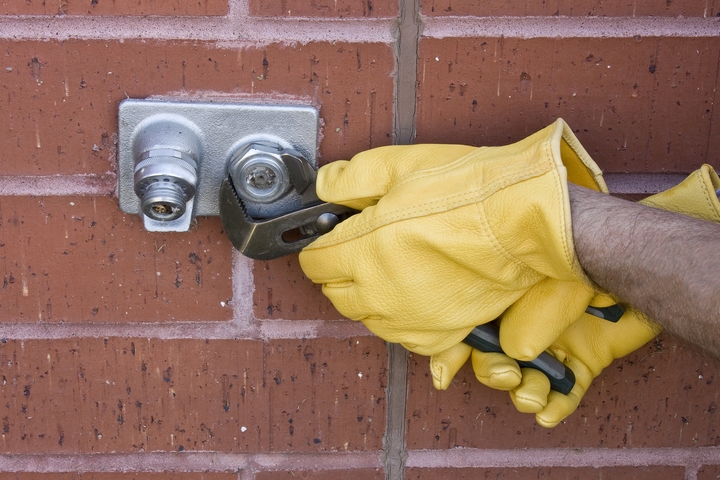
After you repaired a leaking outdoor faucet, you should take preventive measures to stop the leak from happening again. The best way is through proper maintenance of your outdoor faucets. You should examine the faucet periodically, ensuring that water flows freely and there are no clogs present. If you notice a leak, contact a professional plumber to assist you. Caldwell Plumbing will be happy to help. Give us a call today!

